Bathrooms are tricky. While we spend a lot of time in there, we seem to give them the least amount of our attention when it comes to decorating. Maybe because it’s only seen by a handful of people.
But this DIY transformation has me looking at my bathroom sinks more closely.
Maybe this makeover is for you… I know it’s for me!
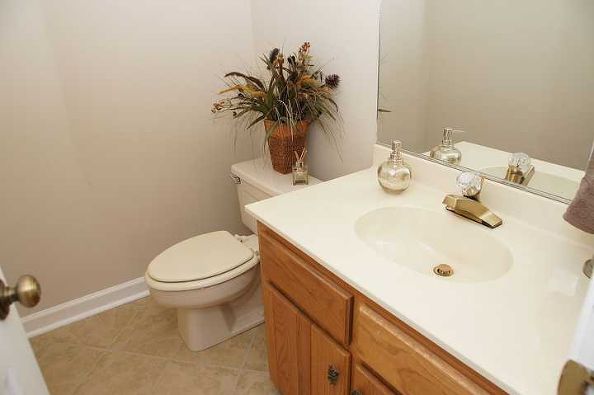
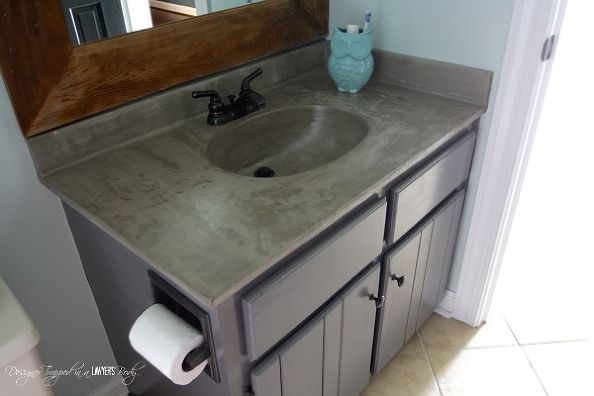
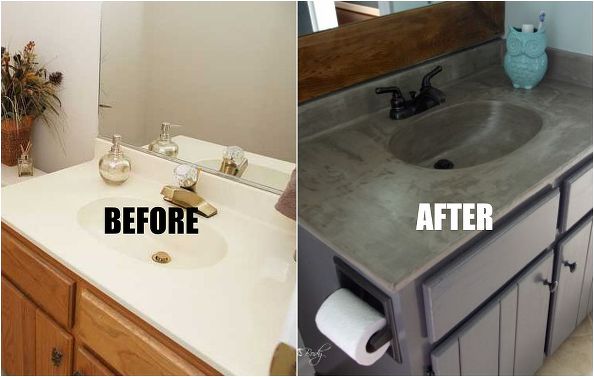
Check out this before & after. Would you believe you too can have this look for only $20?
hometalk.com
The marble and oak look has been the standard in most bathrooms since the 80’s. But with help of these creative and clever people, THIS is one transformation all of us can do!
Take a good long look at her bathroom before. It’s your basic, standard oak cabinet with marble countertop and it’s kinda plain.
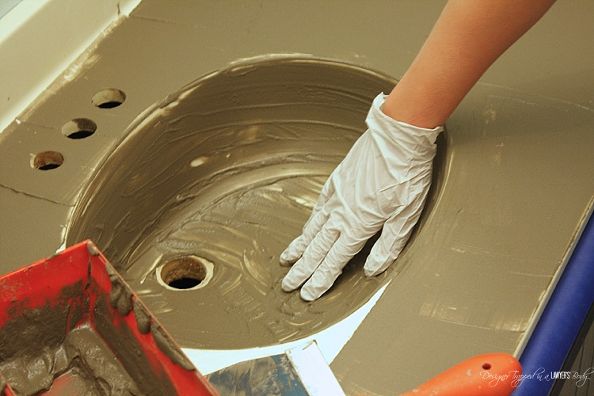
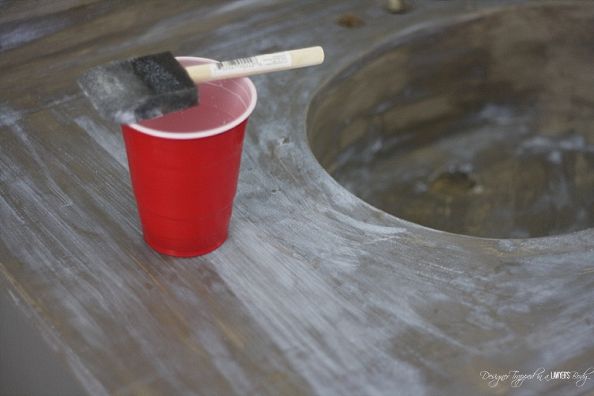
So, here’s what she did. She first sanded the marble and then applied several coats of Henry’s Feather Finish to the surface. Click here for the full tutorial.
And then after sanding down the final coat, she installed a new faucet.
Now, doesn’t that look better?
In addition to applying concrete to the vanity, we painted the outdated oak cabinet a dark grey color.
Each coat/sanding cycle took me only about 30 minutes. Including the sealing step and removal and reinstallation of the faucet, this project took only about 2 1/2 hours.
The cost was very low, coming in well under $20.00. We purchased our Henry’s Feather Finish at Home Depot for $16.00 for the box and used less than 1/4 of the contents. We already had the sealer left over from when I used this same technique in our laundry room. And, since we are frequent DIYers, we had all of the other supplies on hand.
Even if you had to purchase the sealer and some of the other supplies, you would still spend far less on this DIY vanity makeover than what you would spend on a completely new vanity or new countertop!
Thank you, HomeTalk, for assisting us with this incredible project. Your tips above and your tutorial will be the perfect guide as many of us attempt this project!
For another great DIY home project, click here!
HT HomeTalk

