Long hair DOES care and needs a hair tie!
Our girls have hair down to there and so I’m well aware how many hair ties we have gone through over the years.
So, this DIY solution to making our own hair ties really caught my attention and I hope you find it helpful, too!
I’m so grateful for creative people and for ideas like THIS!
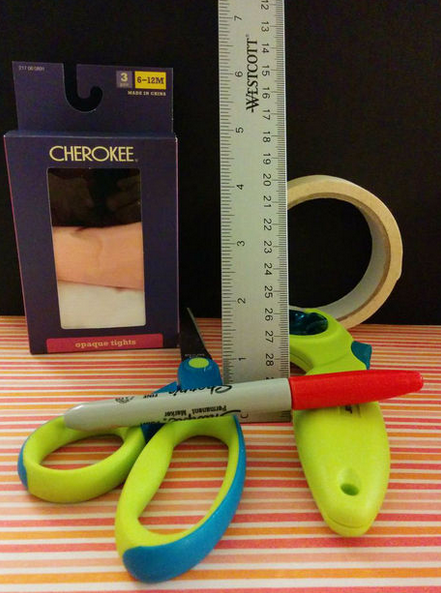
Step 1: Here is what you’ll need:
Opaque stretchy tights (cotton tights aren’t recommended because they will fray.)*
Metal Ruler (can use a plastic one if you want, but I prefer metal when using a rotary cutter.)
Rotary Cutter (this makes the project much easier and produces crisper lines, but scissors can be used instead.)
Cutting Mat
Scissors
Tape (only if using scissors to cut the strips.)
*I choose to use baby sized tights because they are the right size for my wrist without needing to tie them off. However, if you have larger tights that you would like to use, I will show you your options for finishing them off as well.
Instructables
Step 2: Remove Top of Tights and Toe Seam
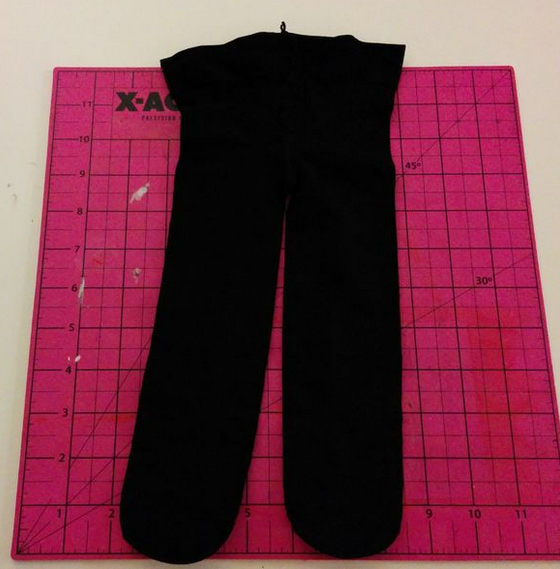
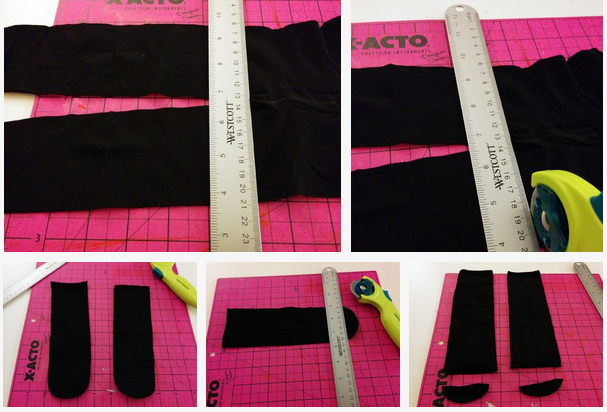
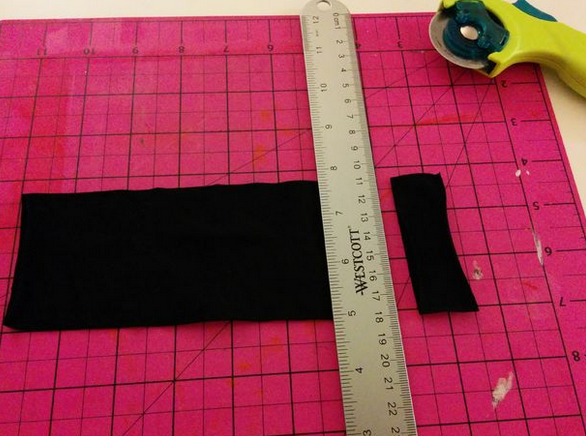
Position the tights on the cutting mat so that you can cut off their top. Place the metal ruler at the top end of the legs using the mat’s ruler to make a straight cute. Run the rotary cutter on the edge of the meta ruler closest to the top of the tights. Press firmly so it can go through both layers. You will now have two leg sections.
If you are using scissors you can use the masking tape to mark where to cut so you don’t leave marks on the material.
Next, Position one leg on the cutting mat so that the top already cut end is straight on the mat’s ruler. Use the metal ruler to mark the end of the leg right before the toe seams. Use your cutting mats ruler again to make sure you are making a straight cut with the rotary tool. Do the same with the other leg of the tights.
Continue this process with any other tights you may have. I have a 3 pack of tights, so I had two more tops and four more toe seams to go.
Step 3: Choosing your Strip Width
You can choose whatever width for your ties that you would like. Remember…the tights will curl into themselves, so no matter what width you choose they will be approximately the same finished size.
The narrower the width, the looser the tie, the wider the width the tighter the tie.
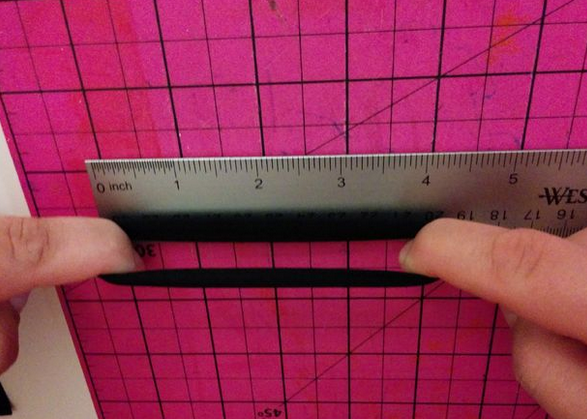
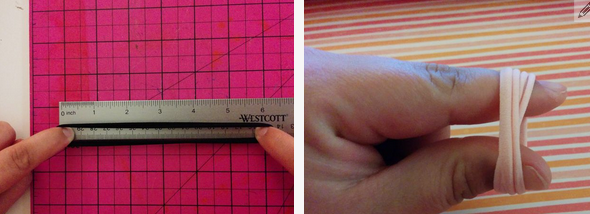
The pictures above show the approximate stretch of a 1″wide tie (my preference) versus a 2″ wide tie. The 1″ wide tie stretched approximately 50% more than the 2″ wide tie. A 2″ wide tie has the tendency to uncurl more.
I used half inch ties for the braided hair tie because of the extra stretch and narrowness needed for the braiding. Half inch ties would not give much hold for your hair, but they do look fine just as a bracelet. If you wanted to use them in your hair, you’d probably have to twist them in the center to double them up (as shown in the picture above.)
Step 4: Cutting the strips
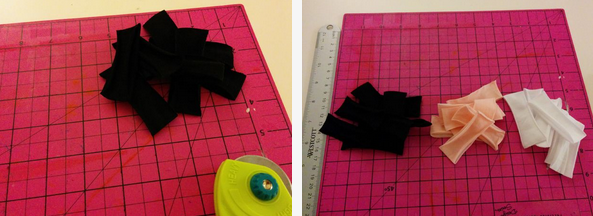
Position the legs so that the tops are along on of the ruler lines on the mat. Use the metal ruler to mark the straight line at your desired width (for me it was 1″). Cut along the metal ruler with the rotary cutter. Keep cutting strips until you have reached the end of the tights. Your last piece may or may not be the same size of the others. If so, you can either discard the final one, or just have a slightly narrower hair tie.
One leg of tights gave me exactly (8) 1″ strips. For this tutorial I only cut up one leg of tights per color, so in total I have (24) hair ties from three legs.


