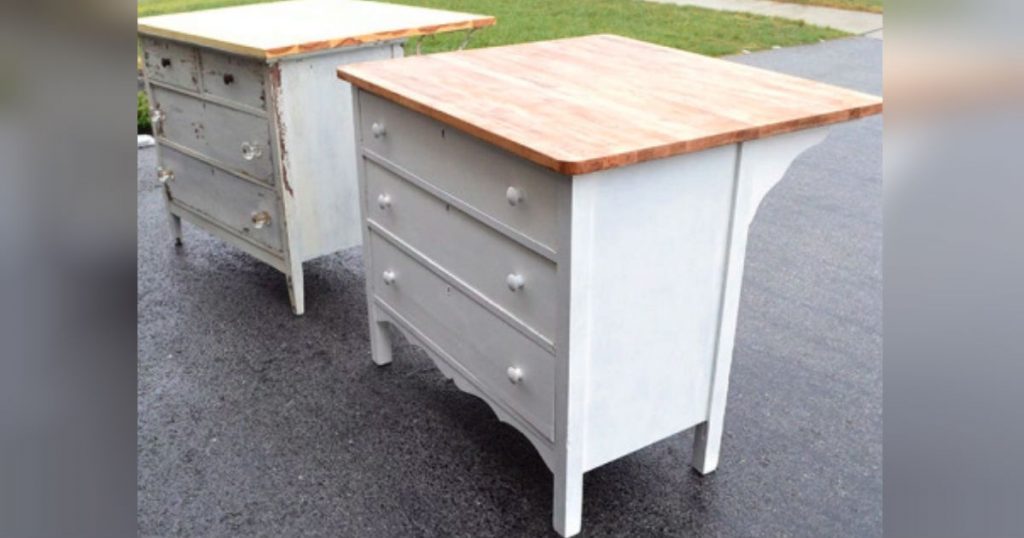
Need more kitchen counter space and storage? This vintage dresser upcycle into a DIY kitchen island instantly adds farmhouse charm to your home.
If you have the space for an island, but not the budget, consider transforming a once-loved dresser to suit your kitchen needs. We adore this DIY project from Traer Loves. It not only provides additional seating space and counter space, but also storage! And who couldn’t use more of that?
The best part about this is that you can really make your island as large or small as you need, depending on how much space you have. Choose a narrow dresser if your space is limited, or go for a wide dresser or sideboard if you have a larger room to fill.
For the top, check around at Lowe’s, Home Depot or even Lumber Liquidators to see what they offer. Or, brainstorm with a local woodworker to see what they can customize for you. Depending on where you get your dresser, the top will likely be the most expensive part of the project, but the total cost should still be only a fraction of what a standard island might cost. And yours will be one-of-a-kind!
credit: Traer Loves
Make your own DIY Kitchen Island, starting with these supplies:
- Vintage dresser (choose one that’s sturdy and sound and the right height for a counter, about 36″ once the top is added)
- Butcher block countertop (ask a local woodworking shop about a custom top in the size that you need)
- Decorative brackets and “L” brackets (if desired)
- Woodglue and Screws
- Paint
- Decorative drawer pulls/knobs
Visit Traer Loves to see her before pics.
SUGGESTED FOR YOU: Go From Faux To Fabulous By Painting Laminate Furniture
