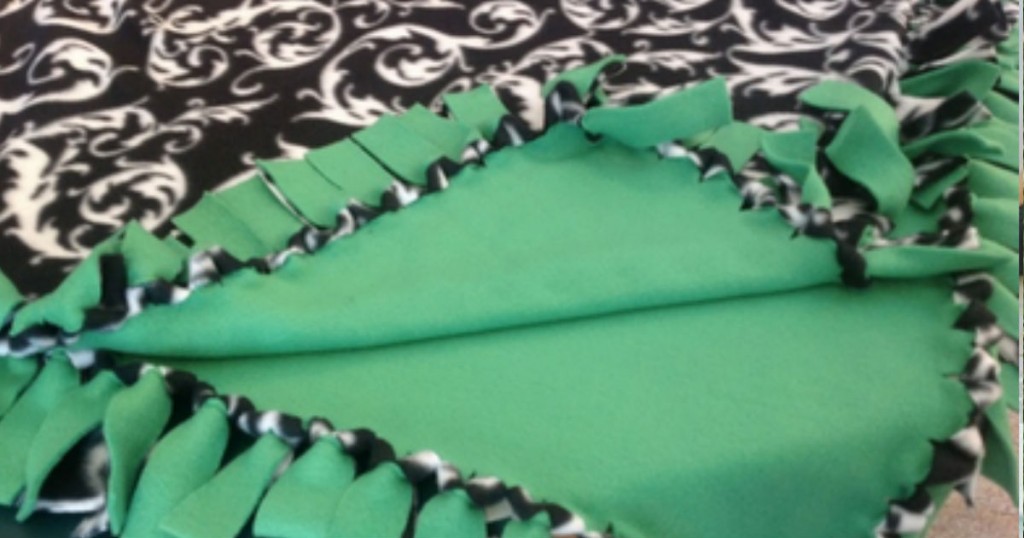
My kids LOVE their no-sew fleece blankets and take them on every road trip we’ve ever been on. And they are so simple to make and to clean – why not!
So, if you’re looking for the perfect, simple, inexpensive gift to give, look no further!
Follow these simple step-by-step instructions and you’ll be a pro in no-time at all. 🙂
Let’s start with the basics.
I like to use a pattern & a plain colored fleece, so have fun picking out your specific colors. I am making an adult size today, but here are the dimensions for smaller size blankets: 2 yds = adult size blanket; 1.5 yd = toddler; 1 yd = baby.
Get scissors ready plus a card measuring 4″ x 4″ to use as a guide for the corners. OK – let’s keep going.
Layout your fleece on top of each other. Smooth out wrinkles and match up edges as best you can. *Don’t pull too much as fleece has a bit of stretch to it.
Trim the edges.
Using your 4×4 card template, place on corner and cut out. Do this on all four corners.
Start cutting 4″ to 4.5″ strips along the edge – depending on how long you want your fringe. *I’m cutting mine about 1 1/4″ long. And about 1/5″ wide. (there is no wrong dimension, just be consistent)
After you cut the four inch strips, fold them up.
Carefully make a small slit on the fold. This is your hole for ‘tying’ your fringe, so the smaller the better.
Simply turn the strip up & pull down inside, through the slit. (creating a much less bulky knot)
Tug gently to make it taut.
Continue down the row with each strip.
This knotting gives the blanket a nice look to the plain color side of the blanket. Also no bulky knots to poke you in the back when you are wrapped up in it!
Here is what your patterned side should look like.
Wasn’t that easy?! And won’t these make great gifts?
[interaction id=”55f6d3c18f1e968801067b5f”]
For more great gift ideas, click here!
HT SnapGuide
